Managing User Access To Your Apps (School Manager)
Inviting Users
Managing who has access to your CENTEGIX Visitor Management apps and what they can access is simple with the web manager.

Always use the Email Address text box to invite your users. Once an invite is sent, that new user will appear in your Users list; pictured above. Be sure to assign your users a role. What do these roles mean? Great question!
Admin – Unrestricted access to all apps and settings. If you assign the admin role to a user, there is no need to assign any other role.
Users – Access to reporting
Director – Access to settings and web client
Notifications – Access to manage Sexual Offender, Nogo List, and Emergency notifications
Station-Kiosk – Access to the web client (cannot change settings)
Organization Users
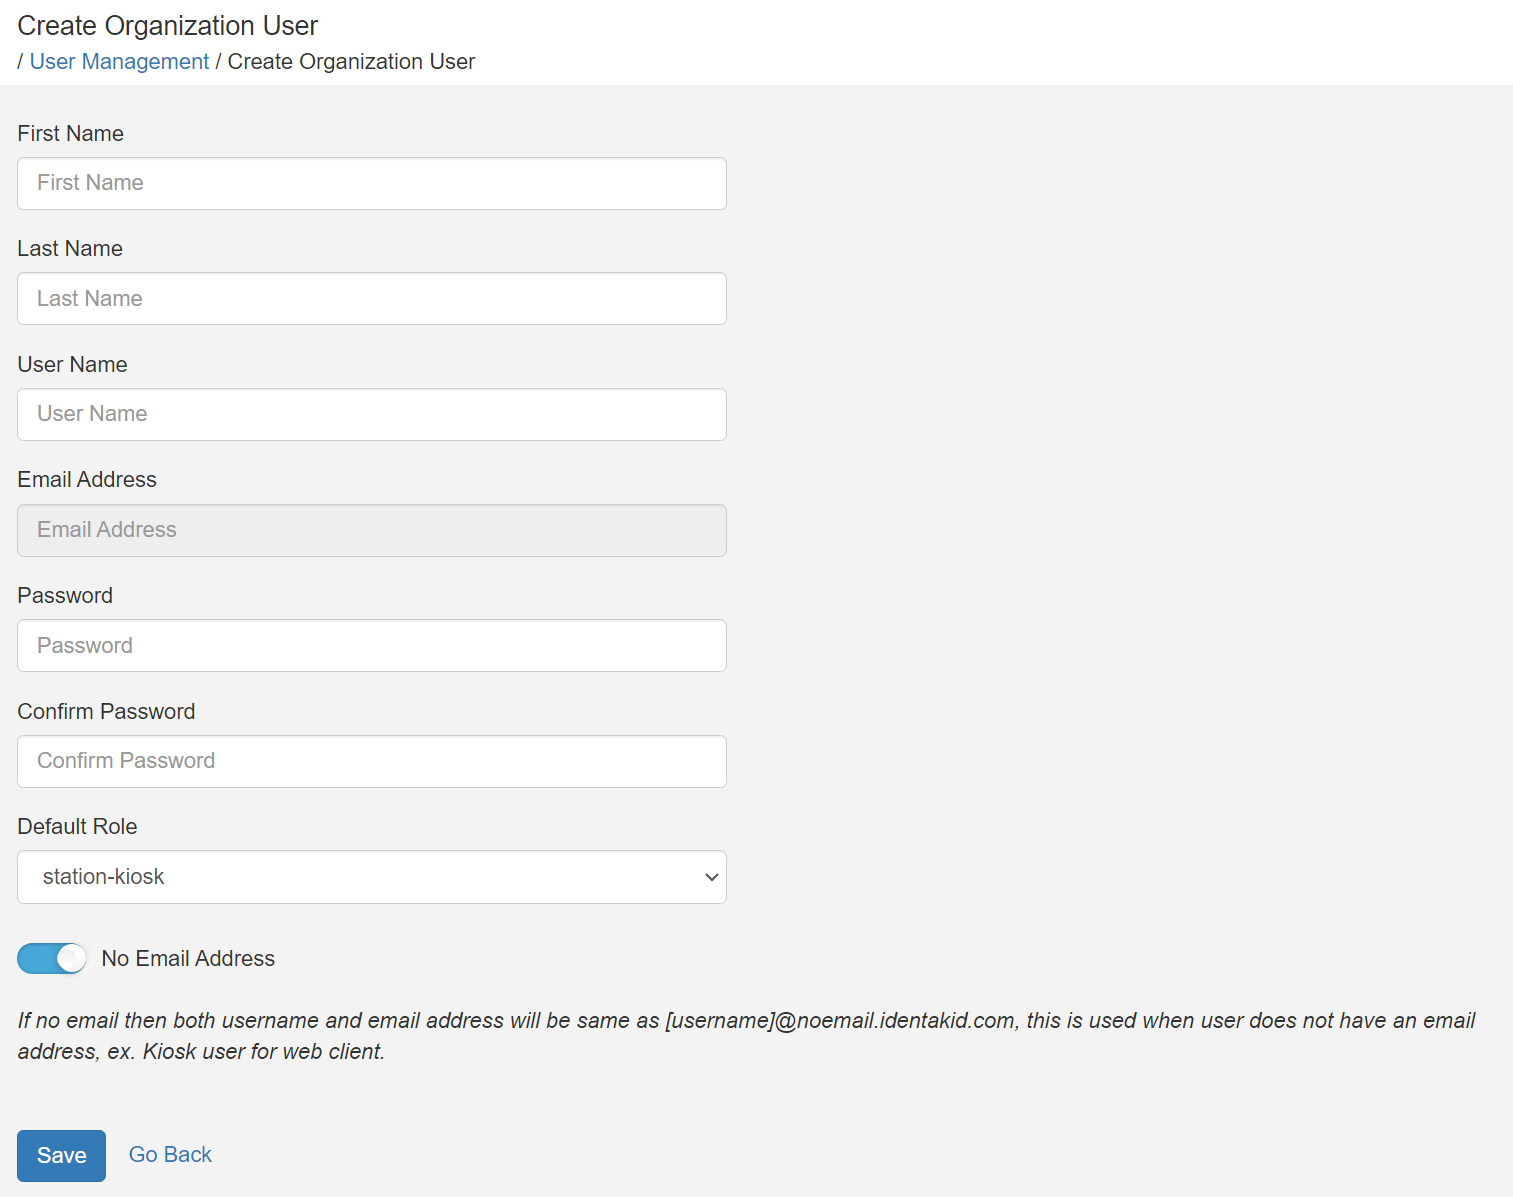
You can also create an Organization User. These user accounts are great to use as check-in station accounts (use the Station-Kiosk role) as they don’t require an active email address. Simply click Organization User, fill out the information, make sure the No Email Address option is enabled, and click Save.
Best Practices
– Create organization users to use for your check-in stations instead of using any one person’s account.
– Organization Users should not be assigned the Admin role. This role is designed for individual users and not generic accounts such as the organization user account.
– Be sure to check your user list routinely, ensuring that as staff and others come and go, their roles and/or accounts are updated accordingly.
– Do not share invite links with others; invite them through User Management instead.