Dymo Single/Twin Turbo Printer (Web Client)
The DYMO printer can be used to print badges. You can also print a QR code on the badge for easy check-out.
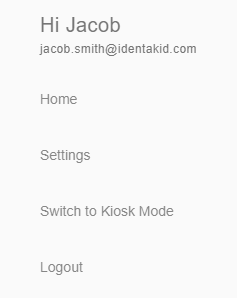
First, click on the 3 lines at the top left hand corner of the check in/out screen, then click on Settings. If you do not see Settings, you’ll need to click on Switch to Admin Mode and then log in with admin credentials. Once there, you should see Settings.
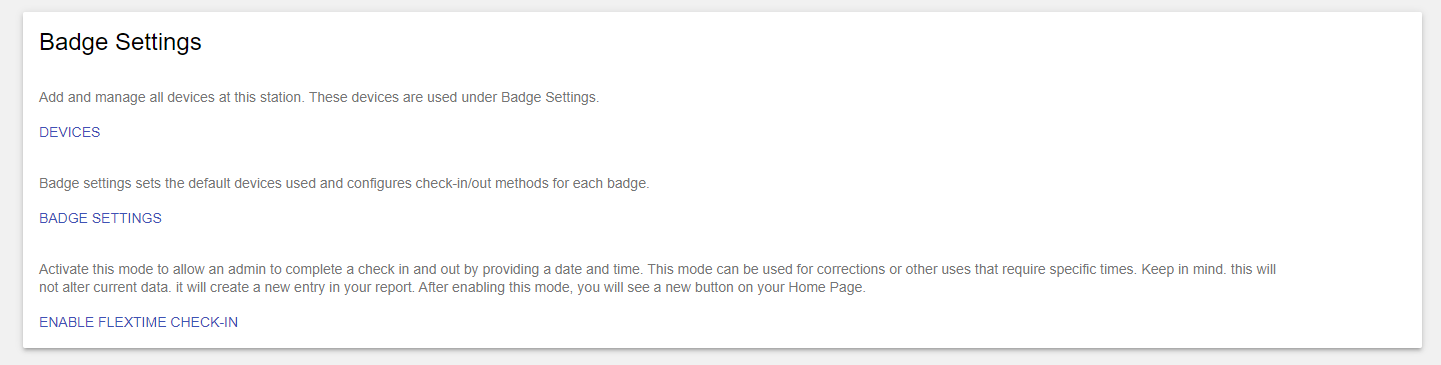
Within Settings, click on Devices at the top of the page.
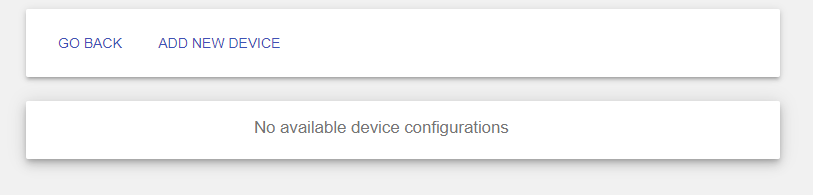
Next, click on Add New Device.
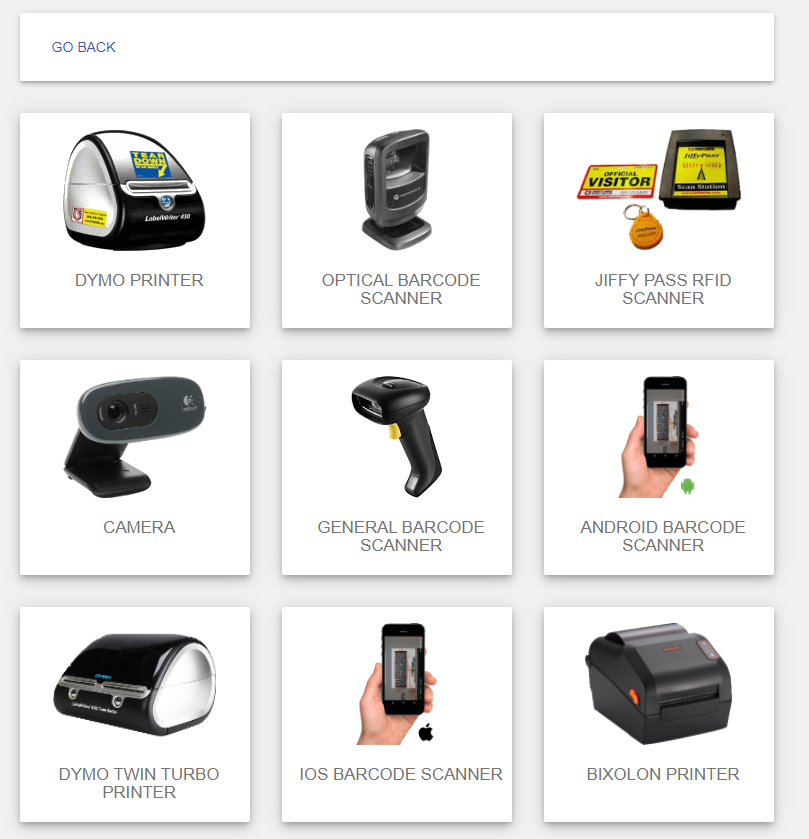
From there, you will be able to select the Dymo model you plan on using.
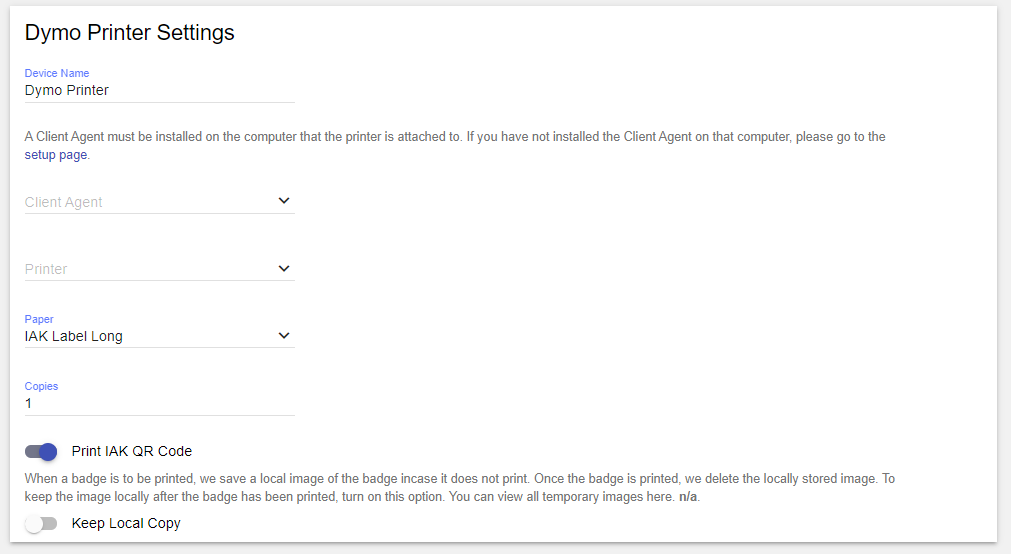
Device Name – Choose a name for this printer. (Visitor Pass or Student Badge for example.)
Client Agent – Select the Client Agent that was configured upon station setup. (Click here for instructions.)
Printer – Select the DYMO printer that is attached to the PC from the drop-down menu
Paper Size – Select the type of labels you are using. Use IAK Label Long for your standard visitor labels (sticky-back)and Thermal Tape for your student passes (no sticky-back).
Paper Source – Select the right or left roll if using a Twin Turbo printer.
Copies – Choose how many copies of each badge will print. The default is one.
Print IAK QR Code – Enabling this will add a QR code to the badge for quick check-out (More info here )
Keep Local Copy – Will save a copy of each badge on your PC as an image file located at C:\ccssvmclientagent\workdir\tmp by default
Be sure to test the printer using the Test Printer option at the bottom.
Best Practice
Create a printer profile for each type of visitor you have if you use different types of labels.
Need help troubleshooting your DYMO printer? Watch This video.
Have a DYMO paper jam? Watch this video.