JiffyPass Overview/Expanded JiffyPass Badge Lists (Web Client)
What Is JiffyPass/RFID?
JiffyPass is a word we use to describe a quick and easy way to check in using your CENTEGIX check-in station with an approved ID card or barcode. These can include driver’s licenses and state IDs, staff badges, or keyfobs with RFID technology, and even student ID badges with barcodes.
RFID is a specific type of JiffyPass scan that consists of either cards or keyfobs that staff and others may use while on campus. These can provide a host of different benefits and permissions for the user. One benefit is these cards/fobs and barcodes can be used with your CENTEGIX check-in system!
Having the ability to scan in and out will save time and hassle for the user, as they don’t have to enter their name or any other piece of information into the system every time they sign in or sign out. They scan and go!
You have two preloaded lists within your School Manager where RFID users can be added. One list is for students, and the other is for staff and others. In addition to these lists, you can use any other custom preloaded list that you may have already. See the Expanded Badge Lists section below for more information.
To utilize this feature, you will need either an RFID reader (for RFID cards/fobs) or an optical scanner (for barcodes).
Important Note: To ensure your RFID cards/fobs and/or barcodes are compatible with our suggested devices, please test functionality prior to usage.
JiffyPass Scan Modes
There are two JiffyPass modes that you can use: Standalone Mode and Integrated Mode. One mode offers guidance on how to scan; the other does not.
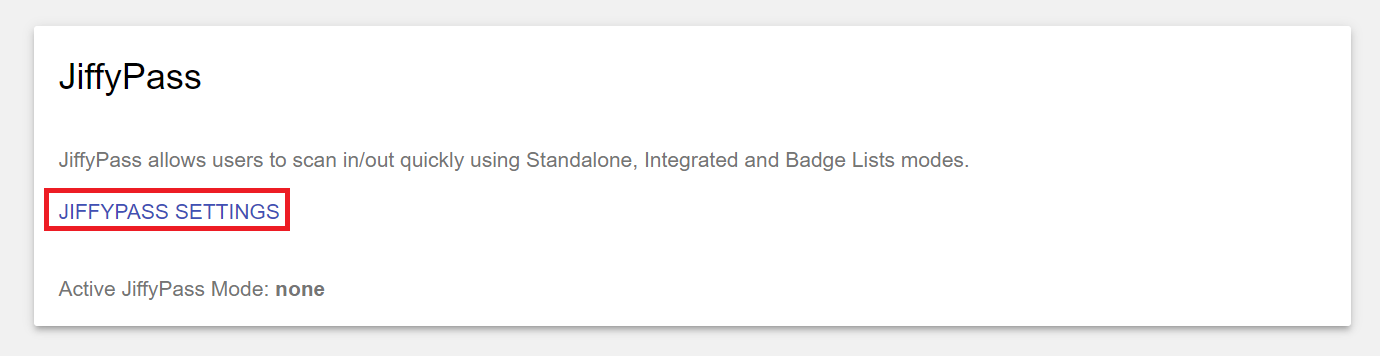
To enable these modes, navigate to your Web Client Settings on your check-in kiosk and scroll down to the JiffyPass section.
Next, click JiffyPass Settings.
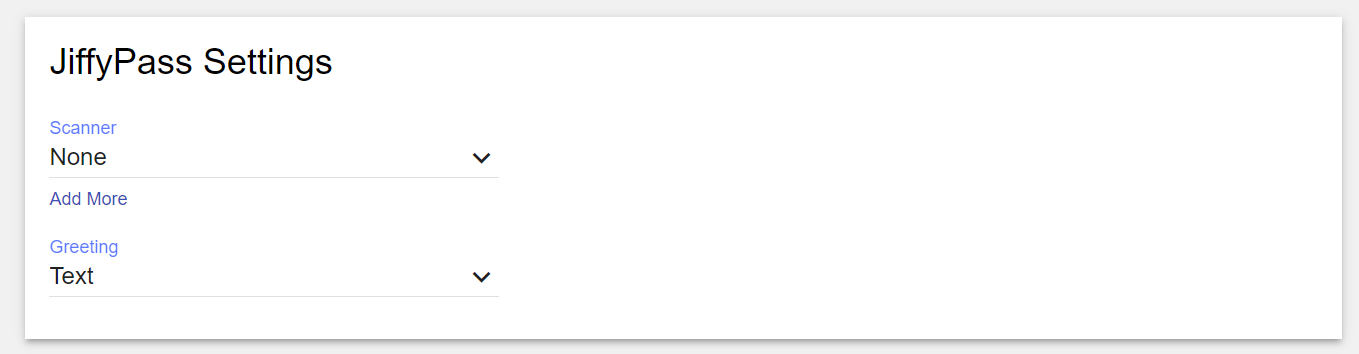
At the top, select the RFID reader/optical scanner that you configured (if you haven’t configured one of these devices yet, click here for instructions) and select a text or audible greeting.
Standalone Mode
Standalone JiffyPass Mode will allow users to scan their keyfob or RFID card with user guidance on the screen. This will add another button to your home page called JiffyPass, which will guide the user on how to scan their card/fob.
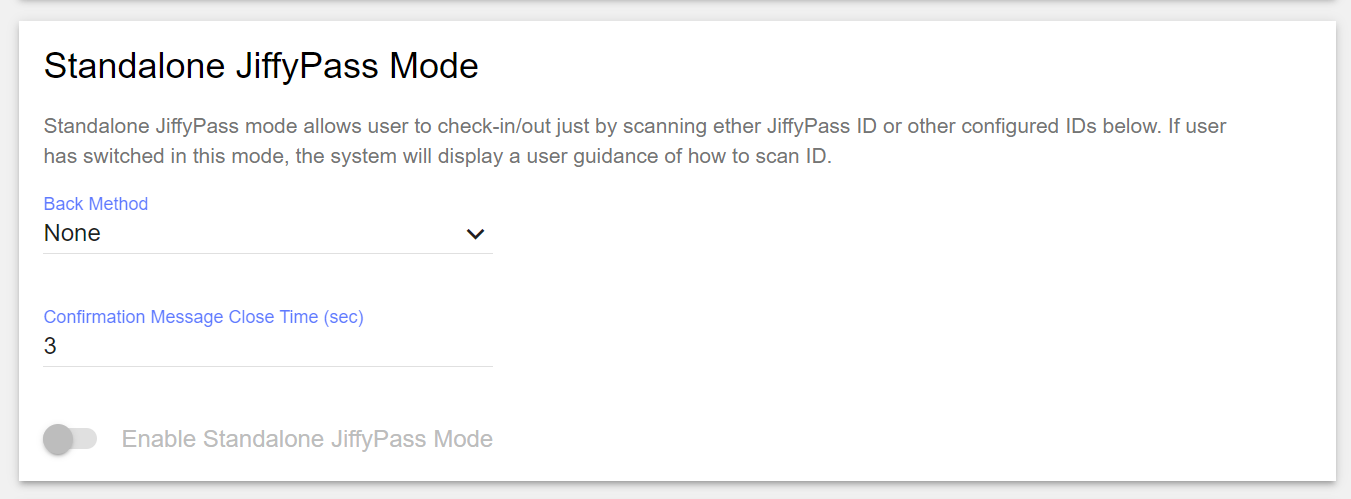
The Back Method will determine what happens after a card/fob is scanned.
The Confirmation Message Close Time lets you determine how long the RFID scan confirmation message will remain on the screen.
Toggle on Enable Standalone JiffyPass Mode to activate this feature!
Integrated Mode
Integrated JiffyPass Mode will allow users to scan their keyfob on the Home Page with no user guidance or any other interaction with the system—scan and go!
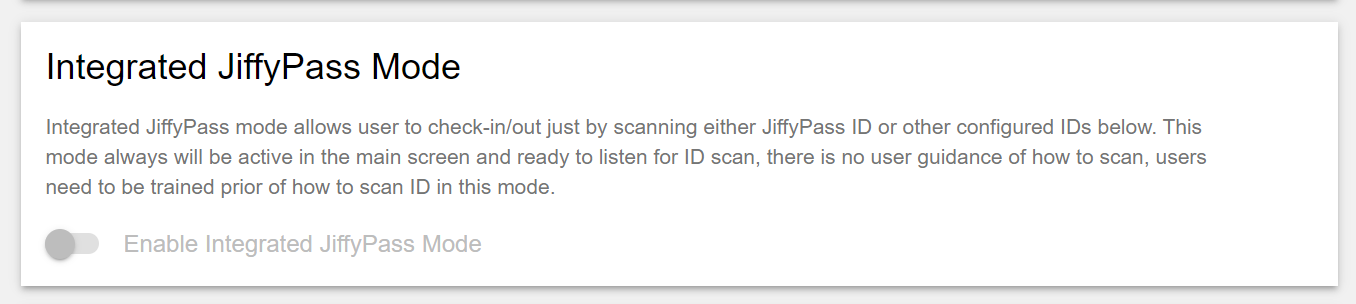
Once a scanner has been selected under JiffyPass Settings, toggle on Enable Integrated JiffyPass Mode to activate this feature!
Best Practice: Activate both JiffyPass modes to cover all users.
JiffyPass Expanded Badge Lists
We have expanded our JiffyPass feature that now allows you to use any custom preloaded list as JiffyPass!
You can then set any badge with these lists to utilize JiffyPass Check-In. Keep in mind that if multiple badges have the same list set, you can only activate one of those badges. If you need to use multiple badges with the same list, you will have to have more than one check-in station.
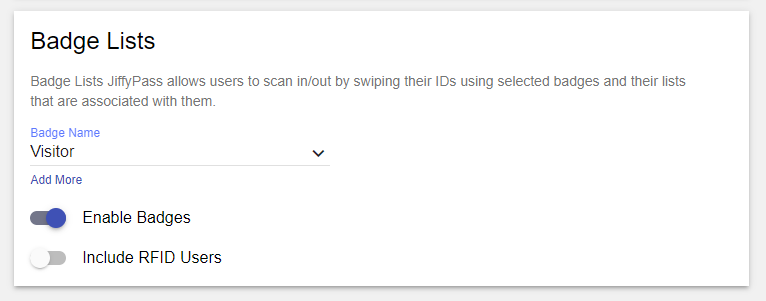
Here, you can choose which badges (and the preloaded lists that are set for those badges) can be used for RFID. Select the badge(s) you would like to use. Make sure you review the preloaded lists that are set for each badge prior to activating them here.
If you currently use the standard RFID list and plan to activate this feature, make sure to enable the Include RFID Users option. This will ensure that your RFID users can continue to scan their IDs successfully.
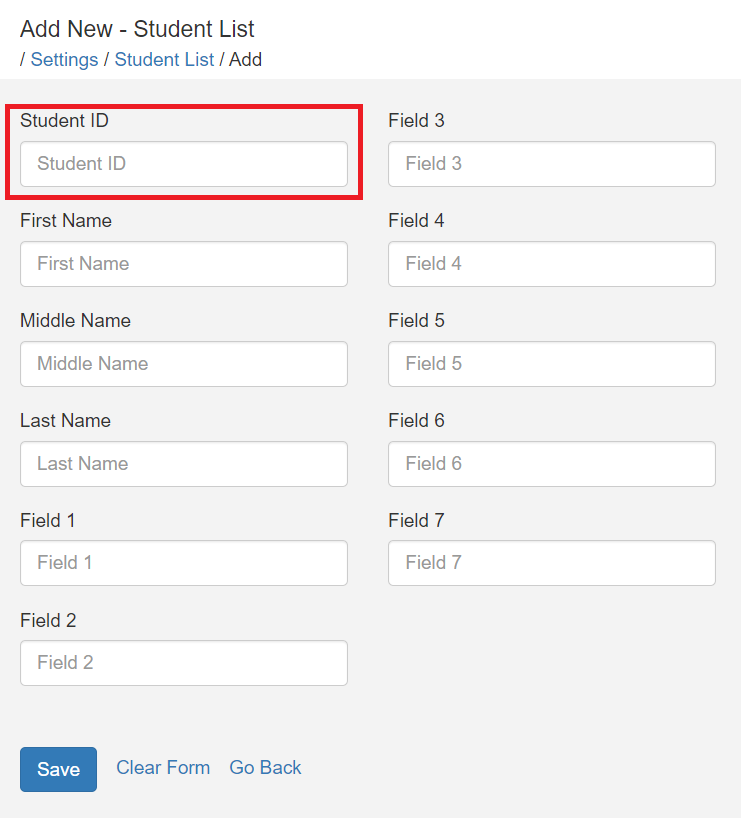
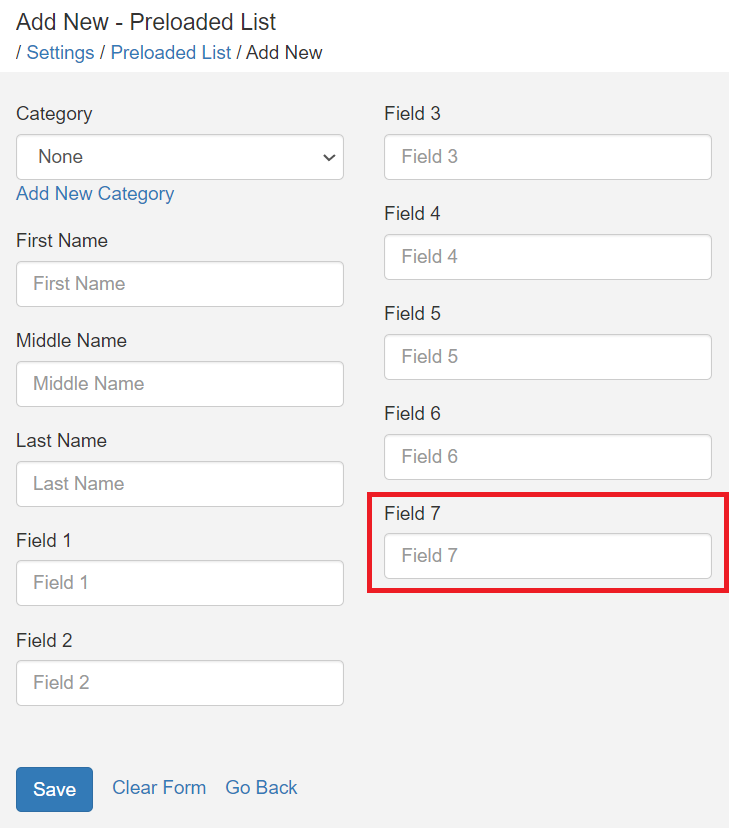
For the Students List, the Student ID field must be used for the RFID/barcode number, and for other custom preloaded lists, Field 7 must be used. (Both are pictured below.)