Using Autocomplete (Web Client)
What is Autocomplete?
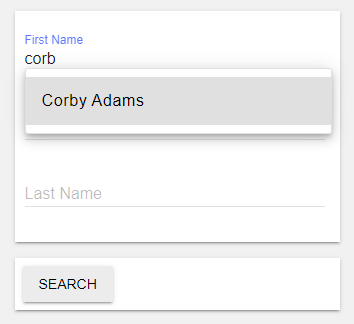
Your check-in station includes an autocomplete feature. This makes it easy to type in just a few characters of the first, middle, or last name during check-in or check-out to find the full name you need quickly.
As you start to type in a name into the first, middle, or last name fields, if that name appears on a preloaded list or RFID list, those results will display as you type! Likewise, during check-out, you will see names currently checked into the system under that particular badge.

Select the name you wish to use and continue with the check-in!
How to Ensure Autocomplete is Active
Let’s look at the settings that affect this feature.
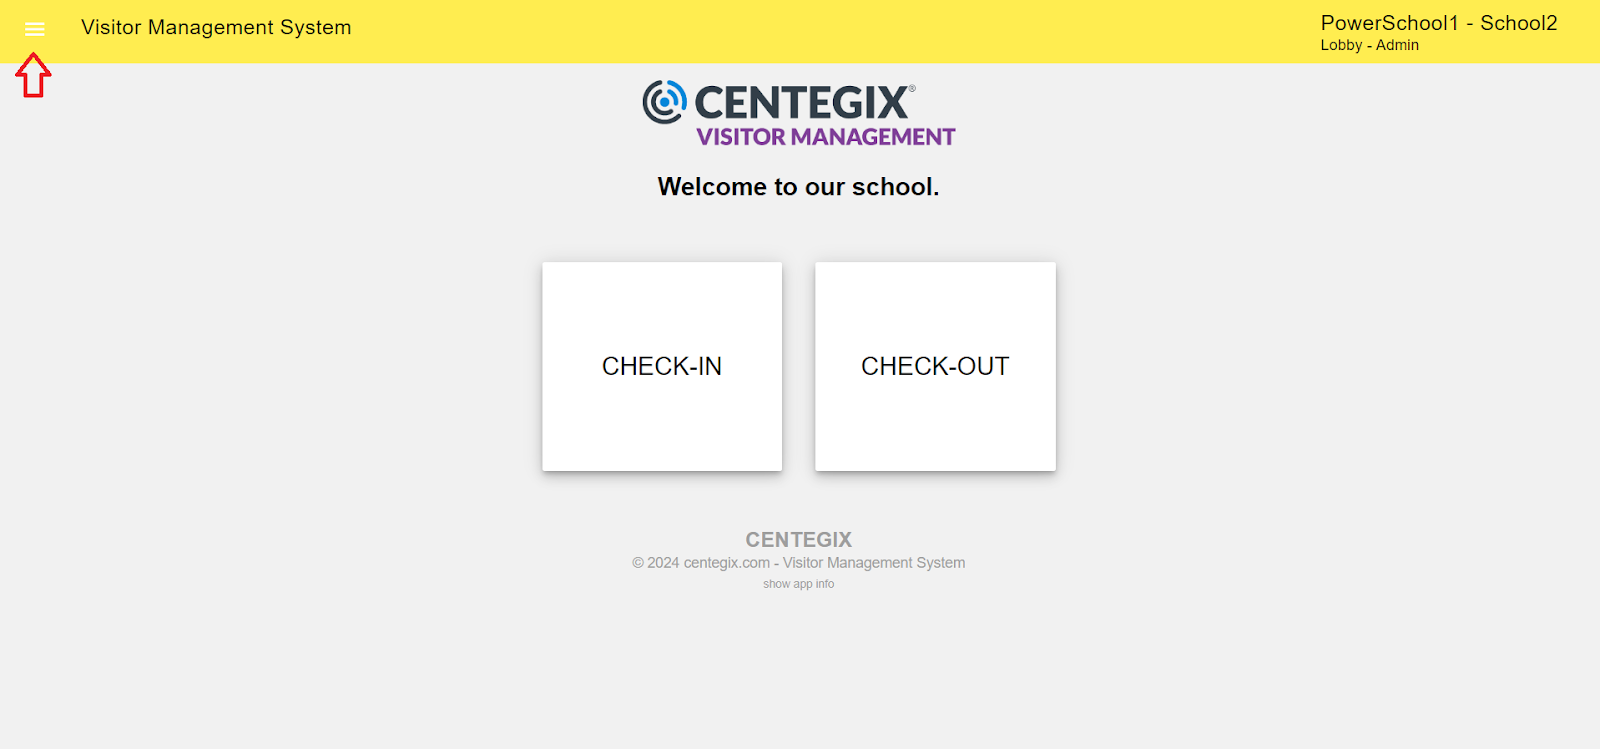
While logged in under an admin user, click the hamburger icon in the upper left-hand corner of your Home Page.
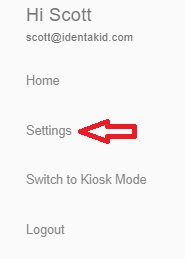
Click Settings.
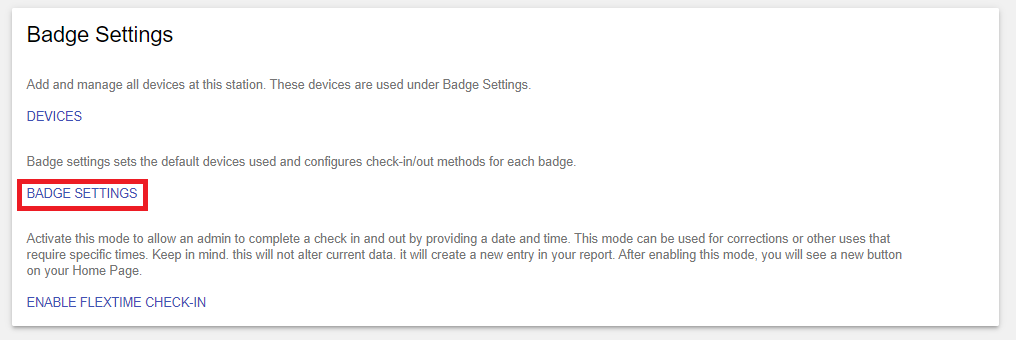
Click Badge Settings and select the badge you want to work with.
Under Check-In Options and Check-Out Options are two settings to look for:
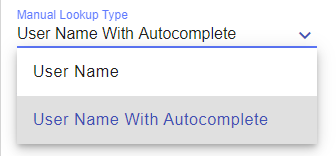
- Manual Lookup Type – This allows you to enable or disable the autocomplete feature. Simply select User Name for no autocomplete or User Name With Autocomplete to enable autocomplete.
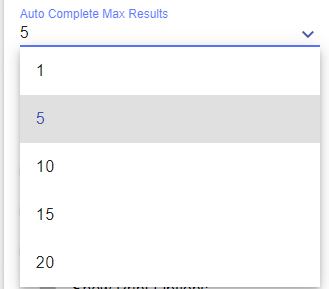
- Auto Complete Max Search Results – This allows you to specify the number of search results to use for autocomplete. Options include 1, 5, 10, 15, and 20.
Expanded Search Feature
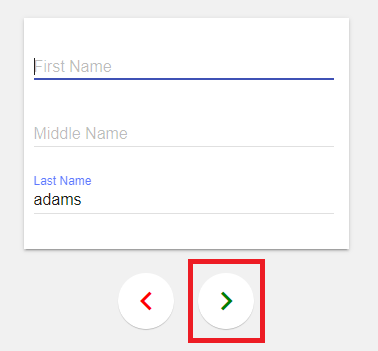
Additionally, we have a search feature that will allow you to perform a full or partial search by first, middle, or last name or a combination of all three.
Let’s look at an example!
With the autocomplete process, only the first name is recognized and searched, as you can see above. With the expanded search feature, simply type in any combination of first, middle, or last name and click the green next arrow.
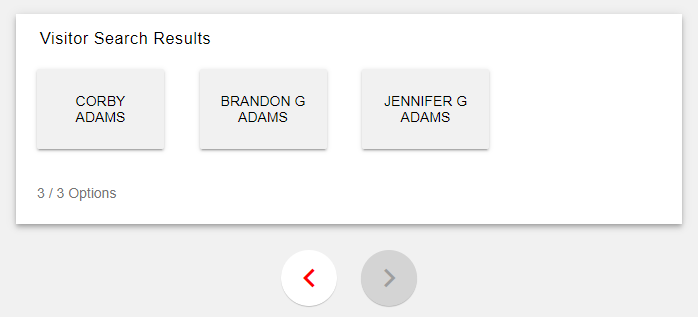
This will give you any search results with the data that you entered. Select the record you want and continue the check-in or check-out process!