Managing Badge Settings (School Manager)
Consult your district contact before making any changes.
Badge settings are a crucial part of your check-in station. These settings affect ALL check-in stations that you may be running. We will look at Global Badge Settings, Display Settings for each badge, Auto Logout Settings, and customizable Additional Information.
Global Badge Settings
Global Badge Settings contains options that affect all badges in use.
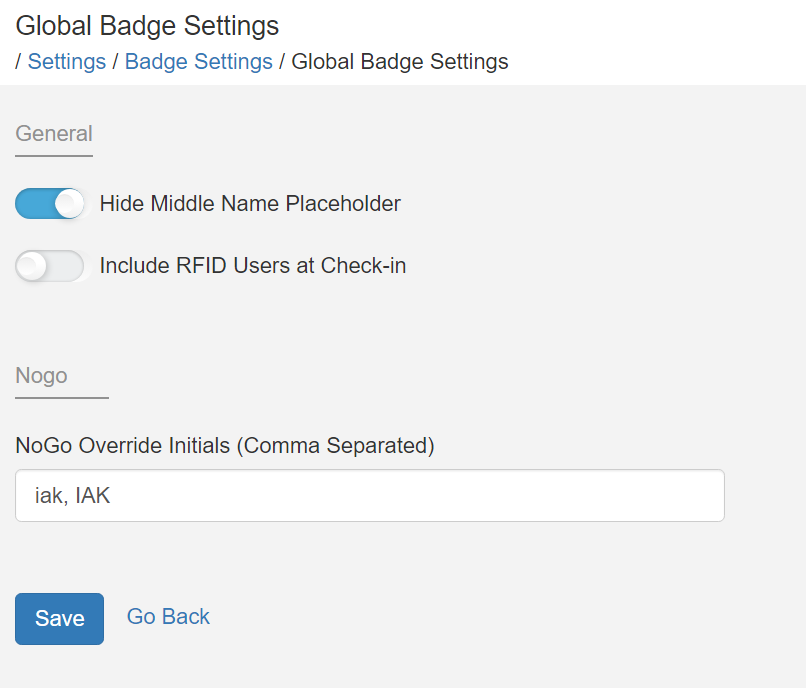
Hide Middle Name Placeholder - Enabling this option will hide the middle name text field during check-in or check-out. It is important to understand that if you have badges that have SOC check enabled, the middle name on a scanned ID is always used regardless of this setting.
Include RFID Users at Check-In - Enabling this option will allow RFID users to check in manually in case they forget their RFID keyfob or card. If an RFID user signs in manually, they must also sign out manually. The same applies if they scan their RFID fob/card to check in; they must scan again to check out.
NoGo Override Initials - This determines the admin passcode needed to override/handle SOC or Nogo alerts at the check-in station. If you're using SOC checks, you'll want to set a password here. You can set more than one password with a comma in between.
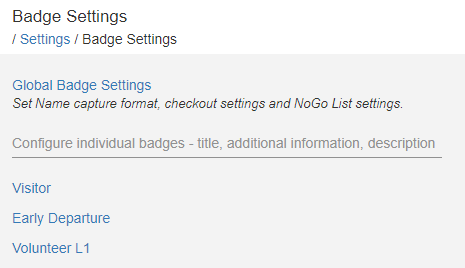
Individual Badge Settings
Clicking on an individual badge, such as Early Departure, will bring you to those specific badge settings, which include display settings, auto-logout settings, and additional information to be collected.
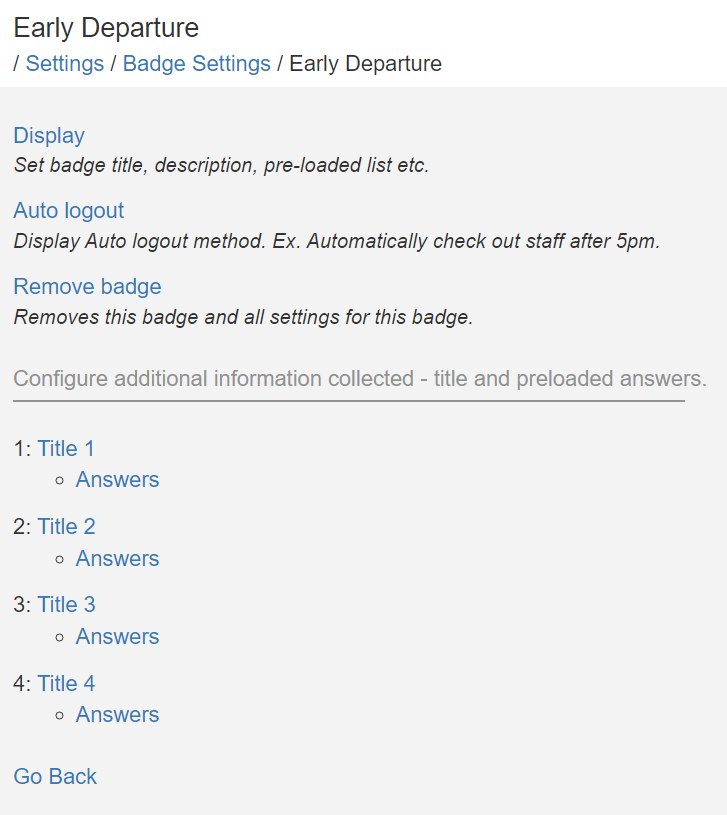
Display Settings
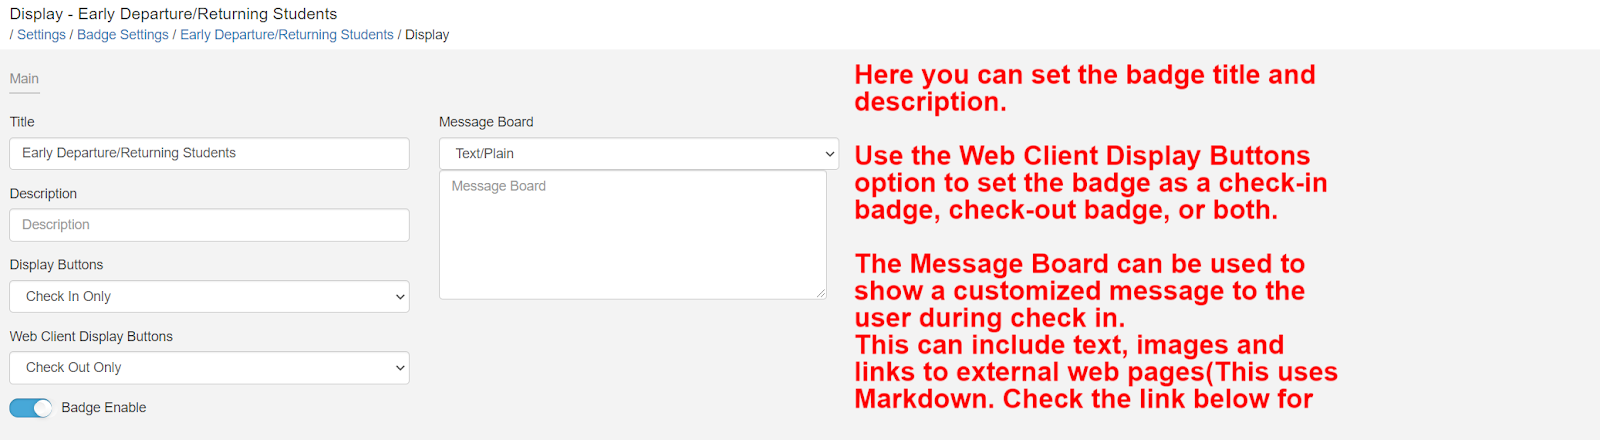
Set badge title and description, which acts as a second line or is used for a secondary language, and use a custom message using the Message Board to display during check-in (Your messages can contain images and links. We use the Markdown language for this. More information on Markdown here. Also, you can use the Web Client Display Buttons to set the badge as a check-in badge only, a check-out badge, or both check-in and out.
Here, you can set the Name Label Prefix, which puts the text you enter in front of the word “name” during check-in, “Parents Name,” for example. You can also enable Allow No Name, which will allow a check-in with no name entered. This is primarily used for events.
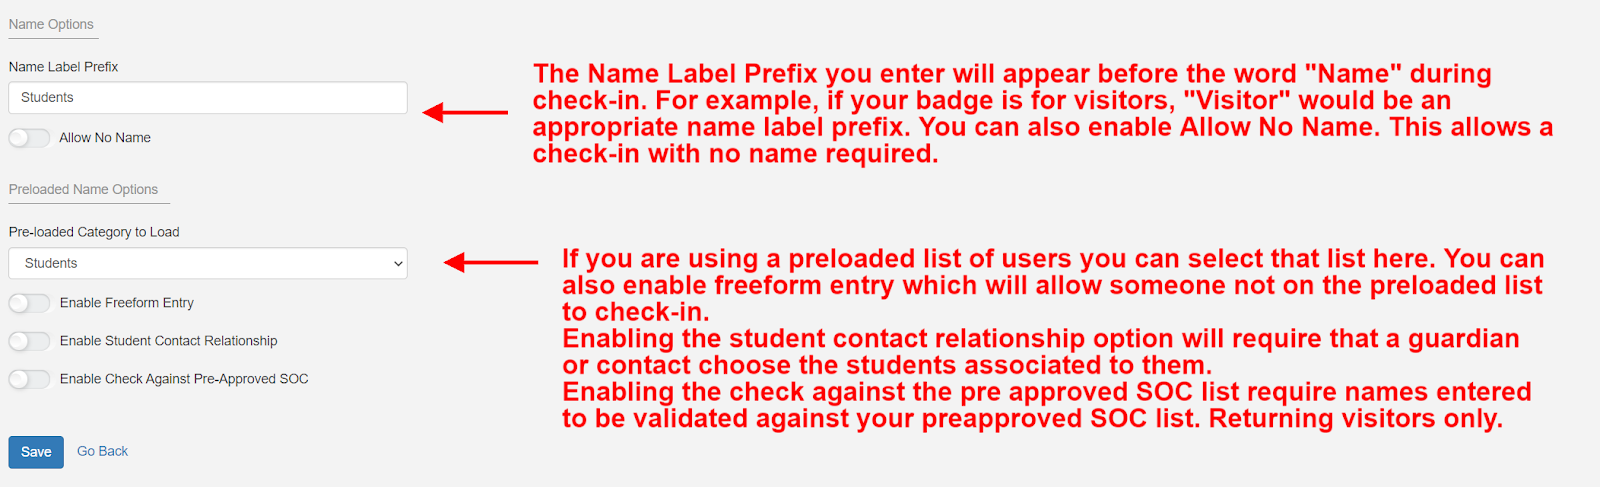
Also listed here are some preloaded list options. You can set a preloaded list category and then set options for:
Enable Freeform Entry – Allow a name that is not on the preloaded list category selected to be entered.
Enable Student Contact Relationship – Enable the Student Contact Relationship list.
Enable Check Against Pre-Approved SOC – Require names entered to be validated against your pre-approved SOC list. Returning visitors only.
Auto Logout
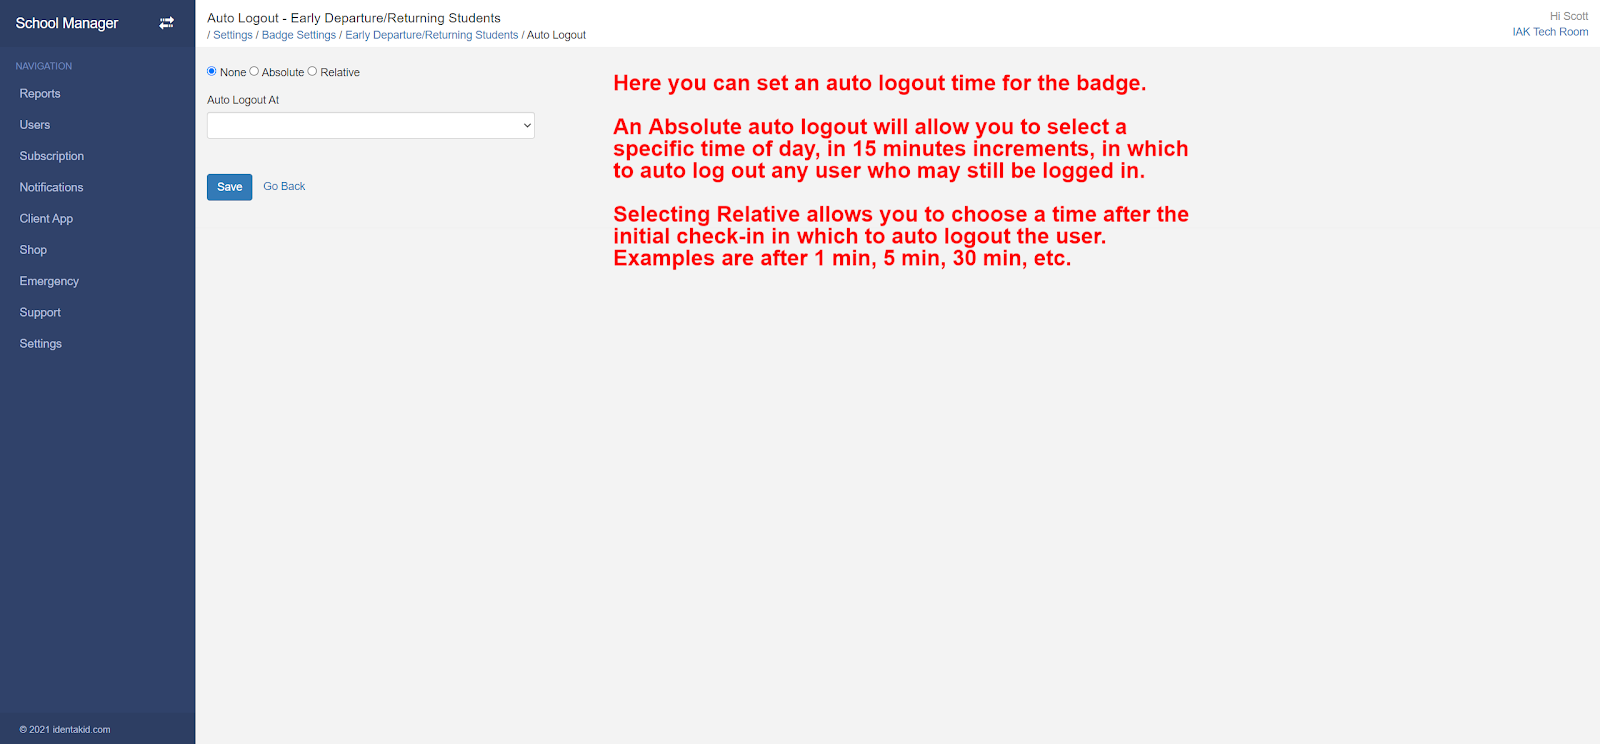
Auto Logout allows you to specify a time, either Absolute (specific time) or Relative (time from initial check-in), in which to sign out anyone who may still be signed in. If nothing is selected, the default logout time is 11:59 pm local time.
Important Note about Auto Logout and PowerSchool
Due to the nature of our offline support, if you plan to have students use a barcode to scan for tardy or early release, your auto logout time MUST be set to Relative>+0.00. This ensures that the entire check-in and out record is completed and the appropriate attendance codes are posted to PowerSchool.
Additional Information
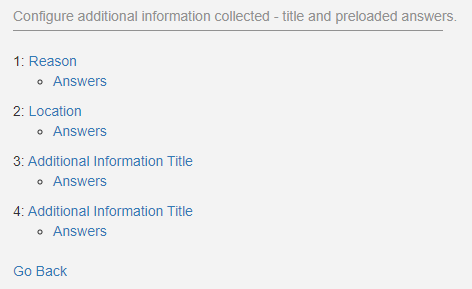
Each badge that you configure can have up to 4 pieces of additional information. These are questions that you can ask the users who sign in to campus to get more information on their visit. You may choose to use additional information for any number of things. These are customizable! Just click on the title for each to adjust the title and other settings. Click Answers to manage answers for each piece of additional information. More info is below.
Best Practice: Always try to use Additional Information for your check-ins. Not only do they provide more information on check-in, they will also appear on activity reports you may want to run.
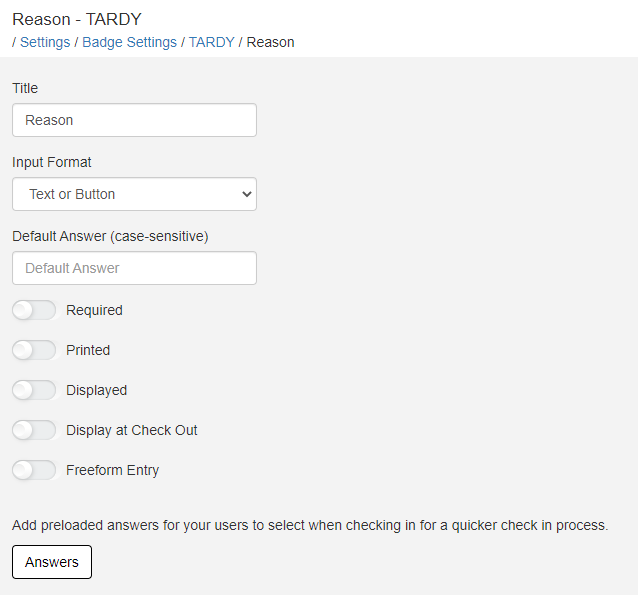
Title – Enter the title or question you want to be answered during check-in
Input Format – Choose Visitor Name to display text fields for first, middle, and last names. Choose Text or Button to display clickable buttons with predefined answers to select from, which also includes a search function.
Required – Will be required to answer during check-in
Printed – Will print on the badge if enabled (Keep in mind that only Additional Info 1 and 2 will print on the badge.)
Displayed – Will display the additional information during check-in (This should be enabled if required is also enabled.)
Display at CheckOut – Will display the additional information during checkout
Freeform Entry – When enabled, it will allow the user to manually type in their response. When not enabled, users will have to choose from a predefined list of answers. (Highly recommended)
Default Answer – You are able to set a default answer for each additional info that you use. During check-in, the default answer will be automatically selected with no input from the user. This is useful if you have users that scan a keyfob or barcode but still need to answer Additional Info.
You can even use this with our PowerSchool integration! If you need just one attendance code selected when a student checks in tardy or leaving upon early release, set that attendance code as the default answer.
Be sure to click Save when done configuring these options.
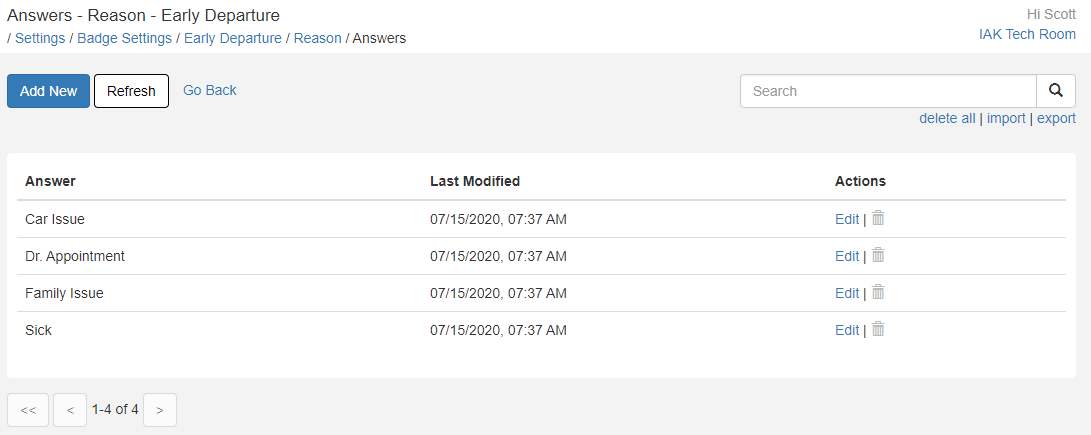
Click Answers to view and add answers your users must select from. Each piece of additional information can have a predetermined set of answers. To add answers, click Add New and put one answer on each line. You can put up to 50 answers. You can also click Import to import a list of answers you may already have.