QR Code Quick Check-Out (Web Client)
Quick Check-Out will allow your users to check out by clicking the Quick Check-Out button on your Home Page and scanning the QR code printed on their badge.
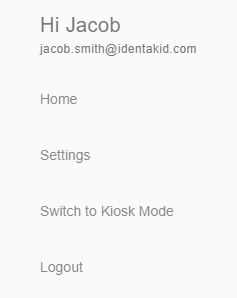
To configure Quick Check-Out settings, first click on the 3 lines at the top left hand corner of the check in/out screen, then click on Settings. If you do not see Settings, you’ll need to click on Switch to Admin Mode and then log in with admin credentials. Once there, you should see Settings.
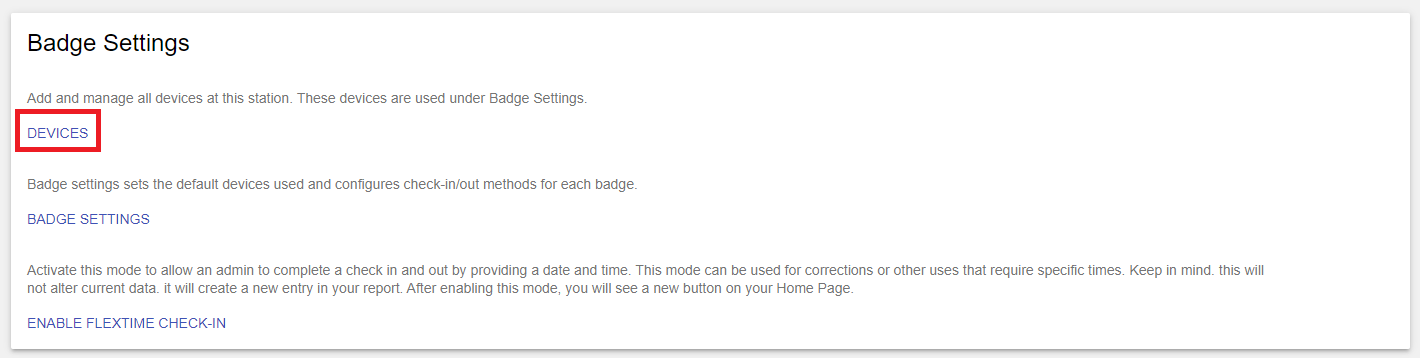
Within Settings, click on Devices at the top of the page, then click on Add New Device.
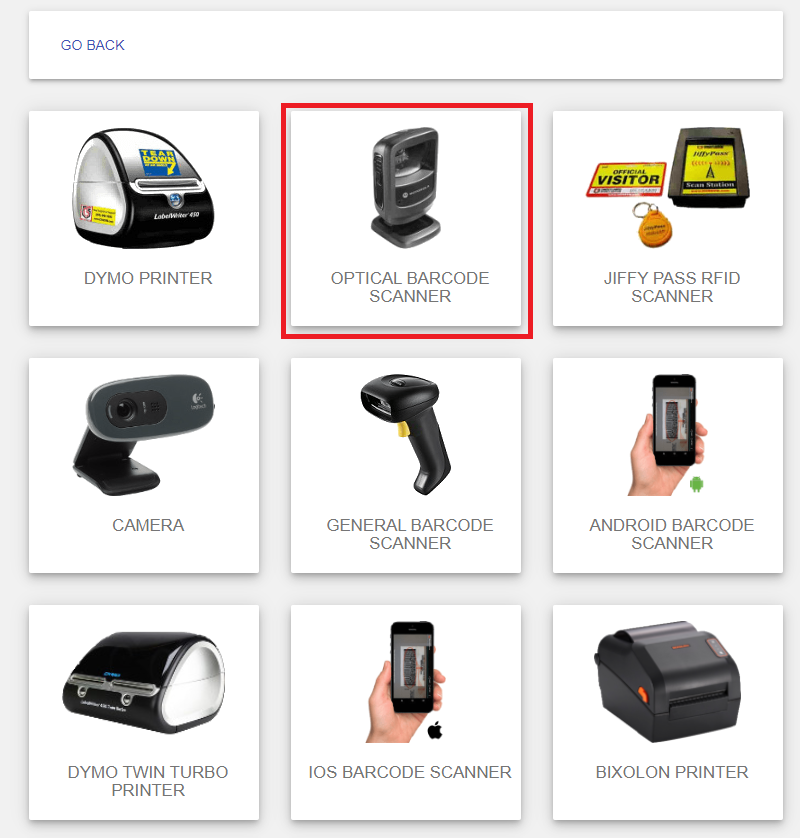
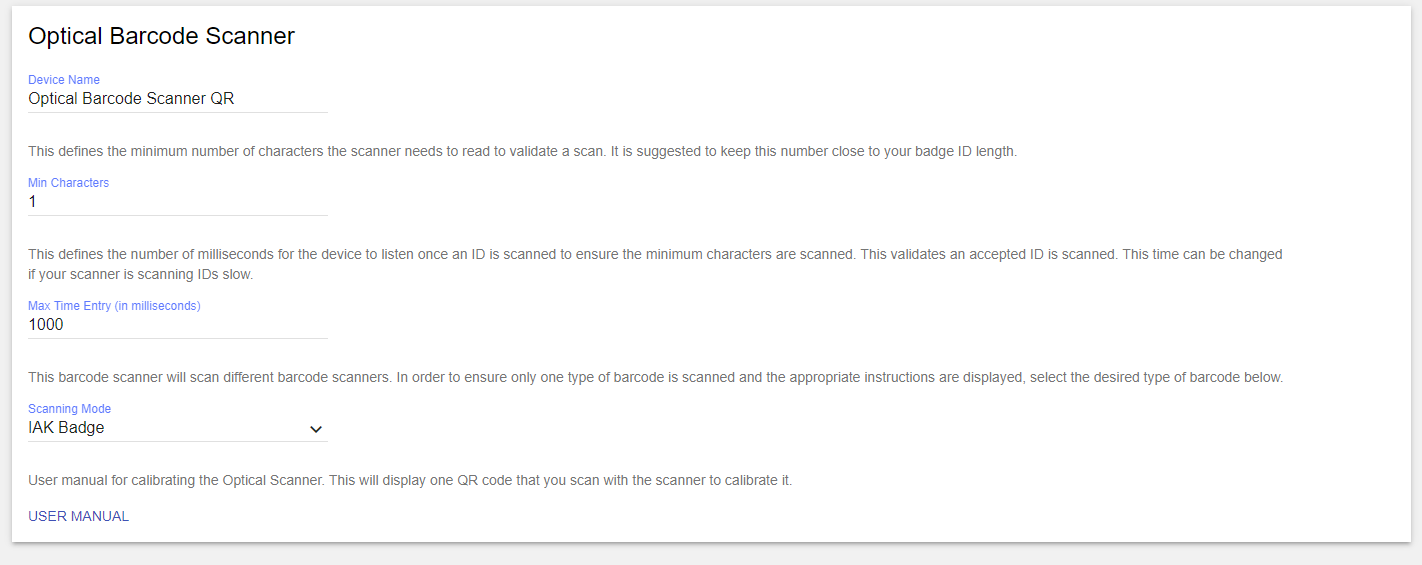
In the next menu, select the Optical Barcode Scanner.
After selecting the scanner, rename the device to reflect the use case that you’d like to configure it for, in this case QR code scanning. Next, match the device settings listed below with your settings and click Save.
Once that step is complete, click on the 3 lines at the top left and choose Settings.
Scroll down until you see Quick Check Out and select it.

Select your QR code configured Optical Scanner from the drop-down and choose a Back Method.
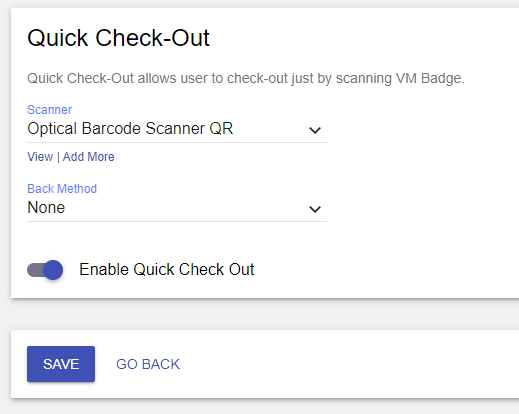
None – Will return you to the Home Page for normal check-in or out purposes.
Back to Scan Out Screen After Logout – After a user scans their QR code, the system will automatically go back to the QR code scanning page for the next user.
Back to Scan Out Screen when Another Badge is Used – This option is used for systems where you may use other badges that do not use the QR code for quick check out in addition to using Quick Check Out. This option will automatically return your system to the QR code scanning page even if a different badge is used.
Click Save when you are done.
Your Home Page will have a new button; Quick Scan Out.
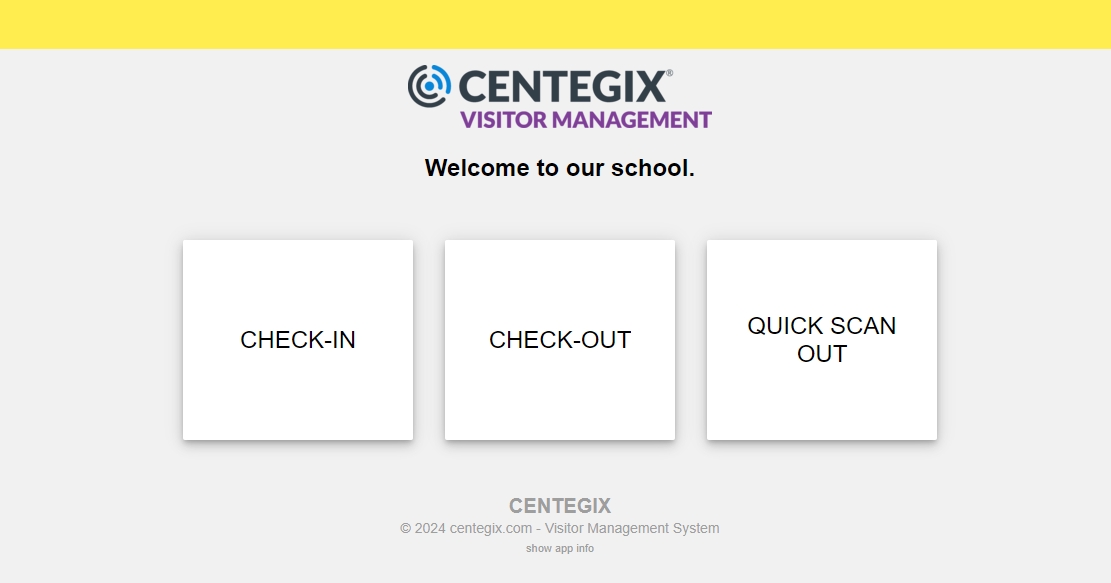
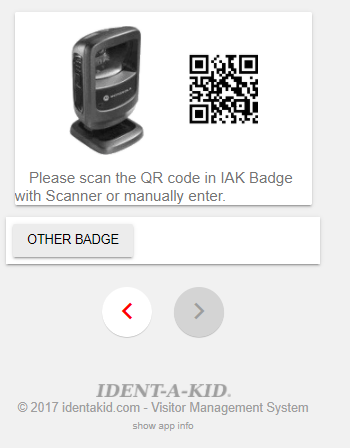
Simply click that button and scan your QR code on your badge using the optical scanner.